Configure price alerts
To configure an alert:
- If you haven't opened a "Alerts" widget in your private dashboard yet, then open the Widget Gallery, and then search for the "Alerts" widget.
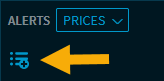
In your dashboard, in the "Alerts" widget, select the "Prices" entry in the drop-down list (default setting) and then the "Instrument search" icon.
Alternatively, you can find the command to create a new price alert in the context menus of securities in widgets or security lists in the search or the Screener.
Point the mouse at the "Instrument search" icon and the number of alerts still available will be displayed as a tooltip.
- First, select the instrument that you want to monitor from the integrated quick search.
This shows the available fields in the dialogue window.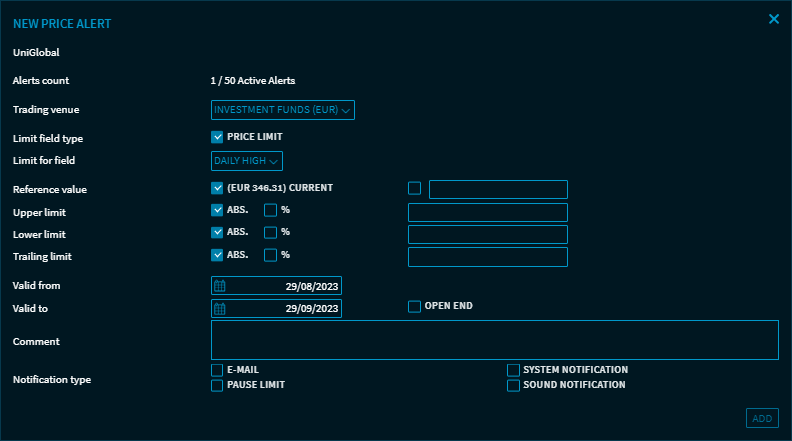
At the top of the dialogue window, you will see the name of the security and the current number of active alerts.Below, you can enter the following data:
Characteristic
Description
Alerts count Here, you can see the current number of active alerts (up to 150 alerts). Trading venue
Select the relevant trading venue for the price fixing from the drop-down list.
Limit field type
Here, you specify the limit field type. Price alerts have the "Price limit" field type.
Limit for field
Select the field that you want to monitor from the drop-down list, for example "Paid" to monitor the paid price.
Reference value
Here, you specify the initial value of the alert. In the "Paid" example, the current price is shown as reference value. To enter a different reference value, select the second input field and enter the price.
Upper limit
Enter the upper limit you want to monitor. If this limit is exceeded, then you receive an alert.
By selecting the corresponding option (absolute or relative distance to the reference value), and then enter the value in the input field.
If you enter the percentage ("%" option), then the resulting price limit is shown next to the input field for review.
If you want to monitor only the lower limit, then leave this field empty.
Lower limit
Enter the lower limit you want to monitor. If this limit is exceeded, then you receive an alert.
By selecting the corresponding option (absolute or relative distance to the reference value), and then enter the value in the input field.If you have entered a percentage (in the "%" option), the resulting price limit is displayed behind the input field for checking purposes.
If you only want to monitor an upper limit, leave this field empty.Trailing limit
If a limit is exceeded and the alert triggered, then you can specify here (optional) the value (absolute or percentage) by which to trail the limit. You will then be alerted once again as soon as the new limit is exceeded.
Next to the input field, you see the resulting new price limits to check it.
Important information about trailing limits
A protection mechanism is active here, which pulls up trailings with distant barriers to the current price or adjusts them accordingly in the case of lower limits. This possible hundreds of unnecessary triggers with emails and popups to the front end, pulling the barriers to a level appropriate for the market situation. The check is based on the current snap quote of the security.
Valid from
Use the integrated calendar to select the validity date of the alert.
The current date is set by default. You can overwrite it.
Valid to
Enter the validity date or click in the table row and then use the drop-down arrow to open the calendar and select the corresponding validity date.
The default validity date from the settings of the widget is set by default. You can overwrite it.
For more information about specifying the default "Valid to" date, see Settings in the "Alerts" widget.
Select the "open end" option to define an unlimited alert.
Comment
Enter the individual information about the limits.
The comments entered here are also displayed in the e-mail notifications, for example.
E-mail
If this checkbox is selected and also enabled in the settings of the user profile, then the exceeded limits trigger alerts that are sent to the e-mail address specified in the user profile.
For more information about the global notification settings, see Settings and profile.
Pause limit If this checkbox is selected, then no alert is triggered when a specified limit is reached. System notification
If this checkbox is selected, then triggered alerts are sent via desktop notification.
The default setting for this option is specified in the widget settings that you open with the "Settings" icon in the widget menu. If the "In-app notifications" checkbox is selected in the settings, then it is also enabled here. See also Settings in the "Alerts" widget.
For more information about the global notification settings, see Settings and profile.
Sound notification
If this checkbox is selected and the "Sound notification" option enabled in the settings, then exceeded limits will alert you with a sound notification.
For more information about configuring sound notifications, see Settings in the "Alerts" widget.
"Add" button
Saves the specified alert and adds it to the list of alerts.
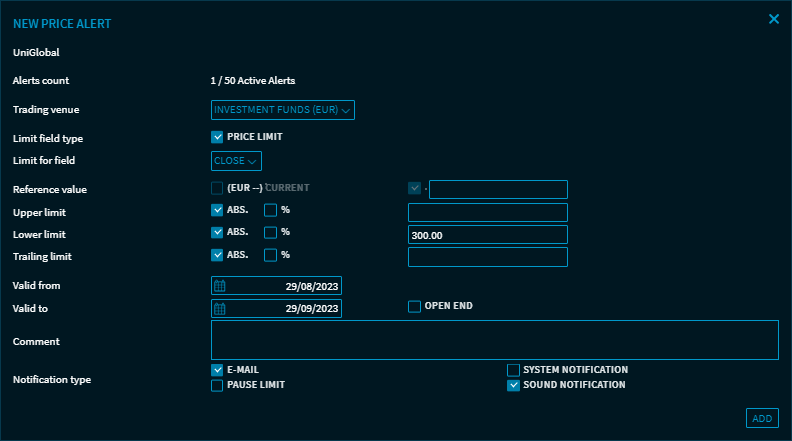
- Confirm your configuration by clicking the "Add" button.
The configured alert appears in the list of price alerts in the widget:
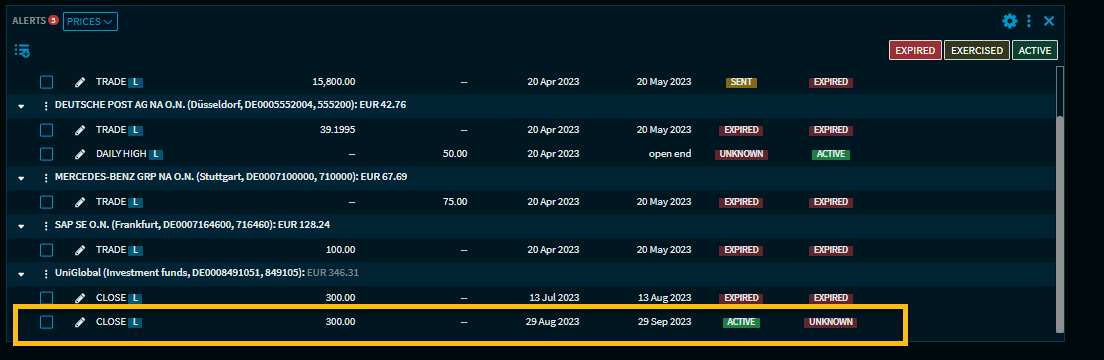
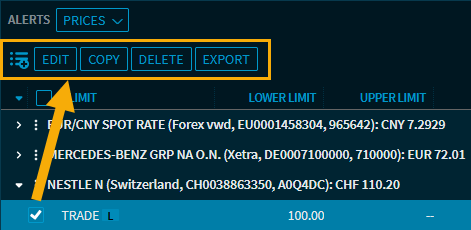
With the "Copy" function, you can quickly create new price alerts that you can then edit. The "Copy" button appears when a price alert is selected in the list.